

LordTony
Regular Member
- Jul 6, 2015
- 228
- 73
I am sure many of you know of this method, but I am going to share it anyway because I haven't been able to find a tutorial on BHW. I just want to give something back to this amazing community. English is not my native language, but I will try to avoid any grammatical errors.
This tutorial was created and is owned by Leron "Joe" Amin from Onepagezen. Thank you Joe in case you are reading this. Check his website out, tons of usefull stuff like this there.
The whole thing is based on utilizing free $300 credit given to you by Google Cloud Engine. You will be required to enter your credit card info, but won't be charged unless you allow billing when your credit runs out. So here goes.
This tutorial was created and is owned by Leron "Joe" Amin from Onepagezen. Thank you Joe in case you are reading this. Check his website out, tons of usefull stuff like this there.
The whole thing is based on utilizing free $300 credit given to you by Google Cloud Engine. You will be required to enter your credit card info, but won't be charged unless you allow billing when your credit runs out. So here goes.
METHOD
Register for free tier on Google Cloud Engine ---> CLICK HERE
Go to your
Console
Console
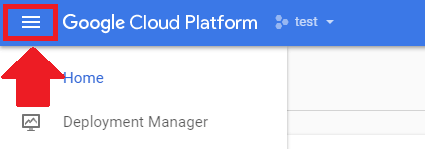
Go to your Google Cloud Platform dashboard and click the hamburger menu in the upper left-hand corner of the screen.
Click on the Cloud Launcher link in the left-hand menu of the screen.

Choose the Bitnami version of WordPress.

Click the “Launch on Compute Engine” link to open the WordPress deployment settings page.

Click on the Cloud Launcher link in the left-hand menu of the screen.
Choose the Bitnami version of WordPress.
Click the “Launch on Compute Engine” link to open the WordPress deployment settings page.
Fill out the fields in order to choose your WordPress installation settings. The settings shown above are optimal for a small WordPress website or blog, however, the zone you select should represent where most of your website traffic will be concentrated. I recommend using SSD as it is cheap but massively increases website's speed

Copy your user name and password from the installation page, and click on the link to access your WordPress admin panel.

Paste your username and password then click the Log In button to access your WordPress dashboard.

Paste your username and password then click the Log In button to access your WordPress dashboard.
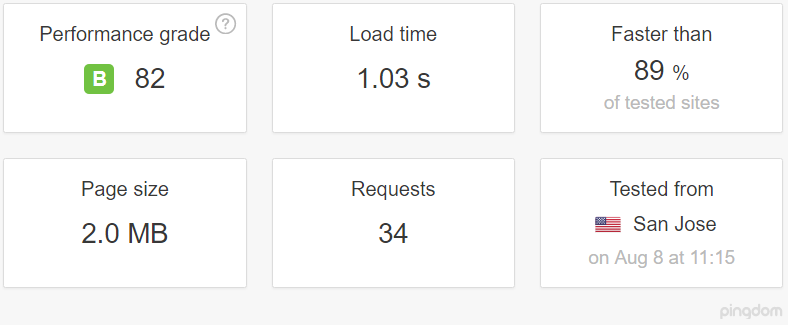
That's it, you are ready to go. Here are my speed test results.

Tutorials on how to setup Free SSL certificates, FTP, Transfer domain name to your wordpress installation, Transfer website from your old hosting provider etc. go to this link. I am not affiliated with this website, I simply think that it has valuable info which may help you.
NOTE: Free tier lasts only for year but it gives your $300 credit. This should be enough to run 4-5 websites for a year. After that you may open a new free trial account, but with new installation your website's ip will change. This may mess up your SEO, I am not an expert but it makes sense. Alternativelly you can continue on the same account paying $4 - $5 a month which is good price for this speed and reliability by google.
Once again, this tutorial is not my work, but I want it to be available on BHW because it may help you. Good luck folks
Last edited:


